In this tab you will be able to create your students either individually or you can upload them all at once with an Excel file or CSV file.
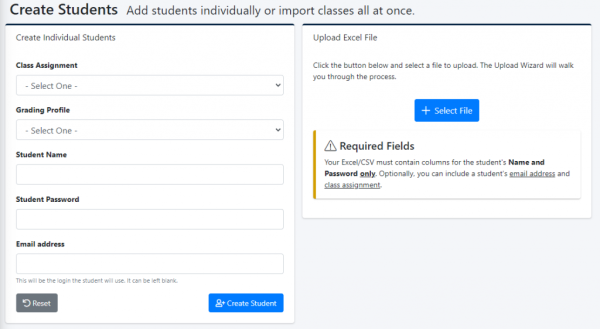
Creating Individual Students:
Class Assignment:If you have a class assignment ready, you will find it in the drop down menu. This is the class that your student will be assigned to.
Grading Profile: The grading profile that you assign to your student will determine what lessons are assigned as well as how difficult or easy the program will be.
Student Name: The students name will go in this field. It can be their full name, or just their first name. Some schools opt to use their student ID.
Student Password: There are no password requirements for your students, you can set them all to “1” or make them as complex as you would like.
Email Address: The email address field is optional, if used the email will be their username to log in, if left blank the system will automatically generate a username for the students to use. Which typically looks like rick@3j1s
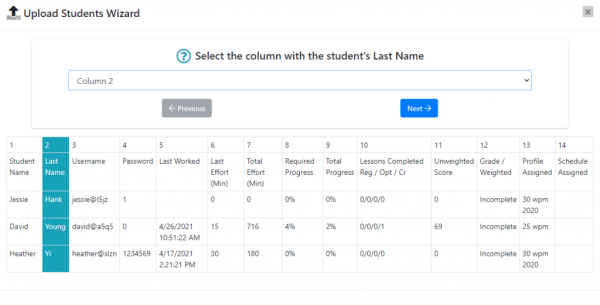
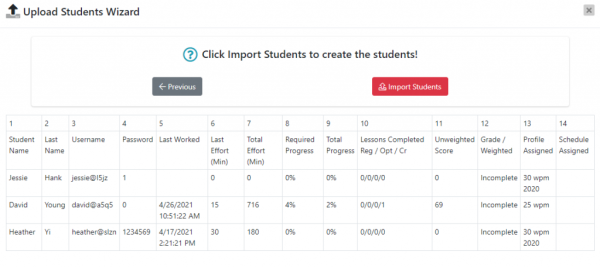
Importing Students:
1: Select the column with the students Last Name.
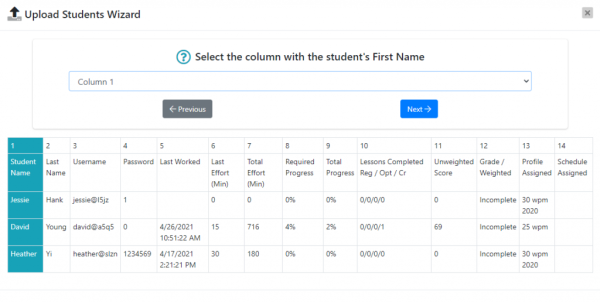
2: Select the column with the students First Name.
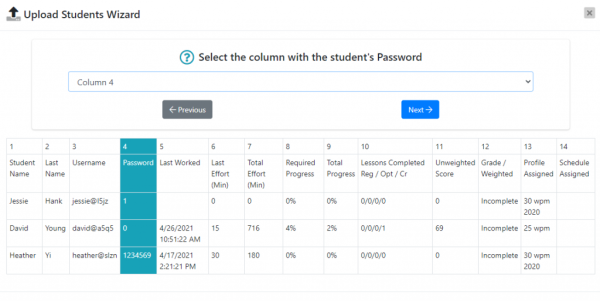
3: Select the column with the students Password.
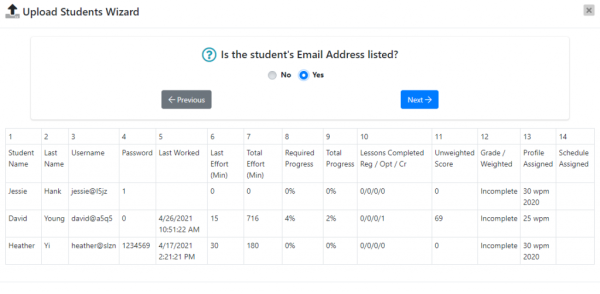
4: Is the students Email Address listed? If no, our system will generate a Username for each student. If YES, you will be prompted to select the column with the students Email Address.
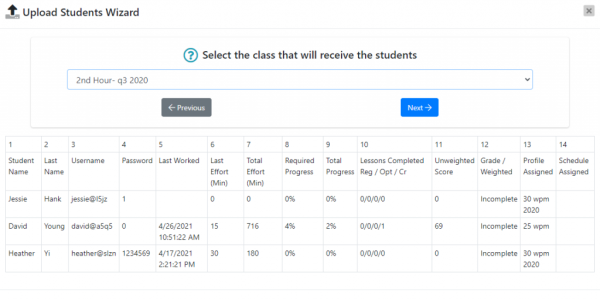
5: Is the students Class Assignment listed? If no, you will be prompted to select a Class Assignment from a dropdown menu. If yes, you will select the column with their Class Assignment.
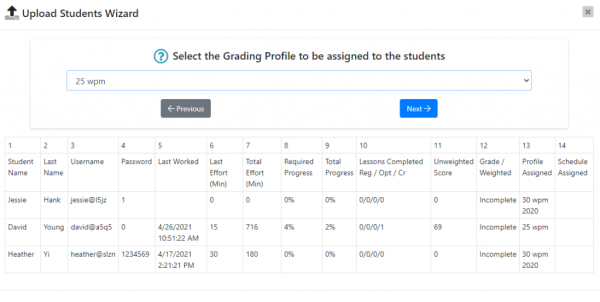
6: Select the Grading Profile to be assigned to the students
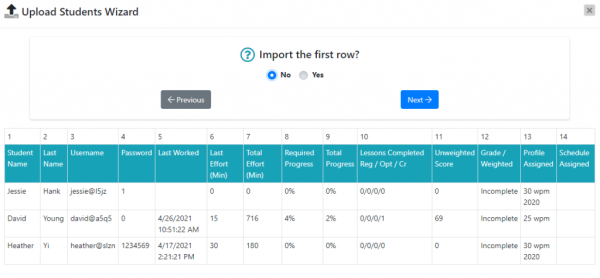
7: Depending on the format of your file, you may need to omit the first row, if you have students listed in row 1 then you will want to import the first row.
8: You are now ready to import your students! Select the RED Import Students button. If successful the students will be added to their classes and will be ready to work.