What are Game Profiles?
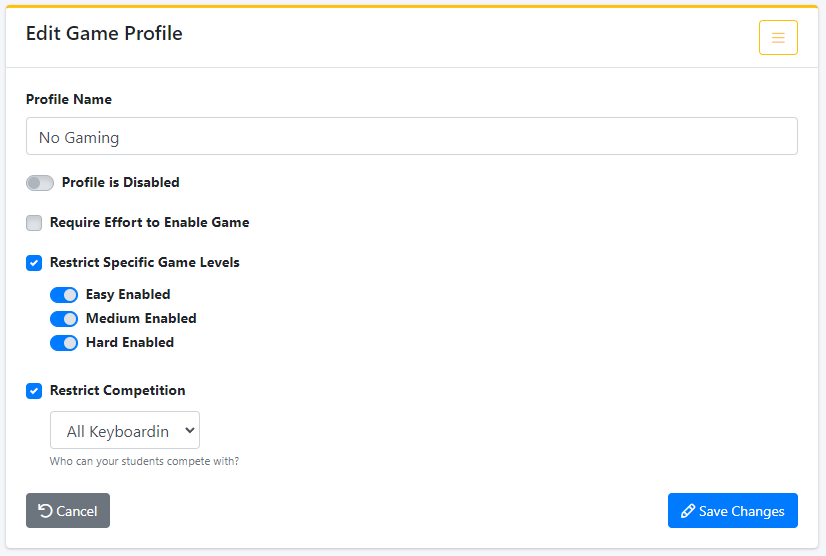
Game profiles are found within the teacher manager. It allows the instructor to restrict or even completely hide the Games for the students. Below we will show you the different options that you can set, and how to assign them to your students.
Creating a Game Profile
The first step is to select Game Profiles while logged into your teacher manager. Found under Access Settings. Which will bring up the screen below.

By default you will see 4 options.
- Game Enabled (By default the games are enabled, click this if you want the games hidden)
- Require Effort to Enable Game (Restricts the game until the students until they have typed for x amount of time)
- Restrict Specific Game Levels (Restricts students to a specific difficulty: easy, medium, or hard)
- Restrict Competition (Students by default will compete against all others on our server, you can limit it to just students within your school, or even just those in your class)
Disable All Games
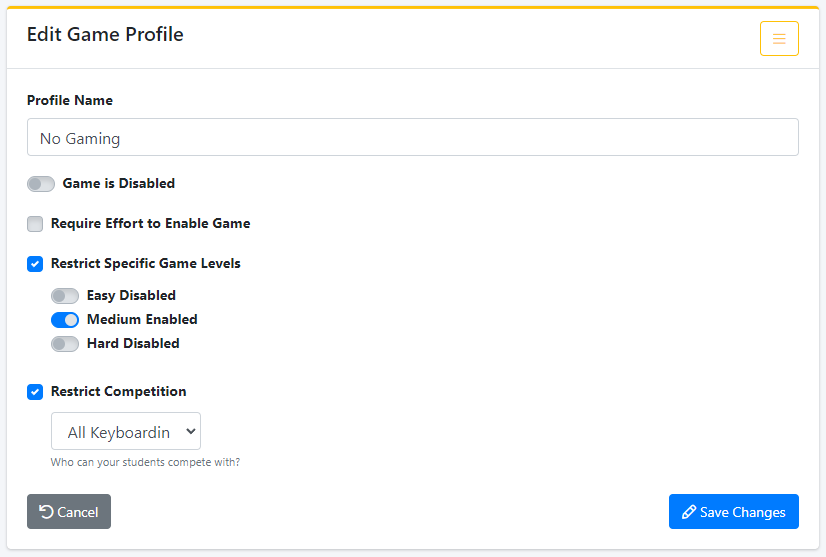
If you are wanting to disable the games completely go ahead and give your Game Profile a name, and then click the button next to Game Enabled. This will change the selection to Game Disabled. Now select the blue Create Game Profile. After it is created you will see the screen below.

As you can see it shows the name, that the game is disabled, and currently being used by 0 students. To assign it to your students, we will need to go into the class list and select the student(s) that we want to disable the games for.

Once in the class list, select your class, and then place a check next to the students you wish to assign the game profile to. Once they have been checked you will see an option on the right side of the screen called Student Options. Select Update Game Profile and then select the profile you want to assign. Once selected, click Update Students and the next time they log in, they will no longer see the Games tab in their application.

